TL;DR
Hey folks 👋
In this blog, I’ll walk you through setting up a Google client project and using plain JavaScript to access Google APIs—especially Google Sheets.
Background & Motivation
Google Sheets is a very useful tool that many of us use on a daily basis. It offers a wide range of features and makes it easy to store and access large amounts of data. I personally use Google Sheets in my day-to-day life for expense tracking, budget planning, trip planning, and more.
I’ve been working on a small application that records my expenses. It helps me aggregate expense data, visualize spending across different categories, and make better financial decisions. My app uses Google Sheets as its database—I started with spreadsheets first and then built the application around them.
For this reason, my application needs to access Google Sheets to function properly. Google provides APIs for various programming languages that allow you to access your Google resources programmatically.
In this blog, I’ll show you how to access Google Sheets using plain JavaScript.
Create Google Client ID
Before anything else, we need to create a Google Cloud project so that we can obtain the required credentials to access Google resources.
- Visit https://console.cloud.google.com and sign in using your Google account.
Once logged in, you will see a page similar to the one shown below.
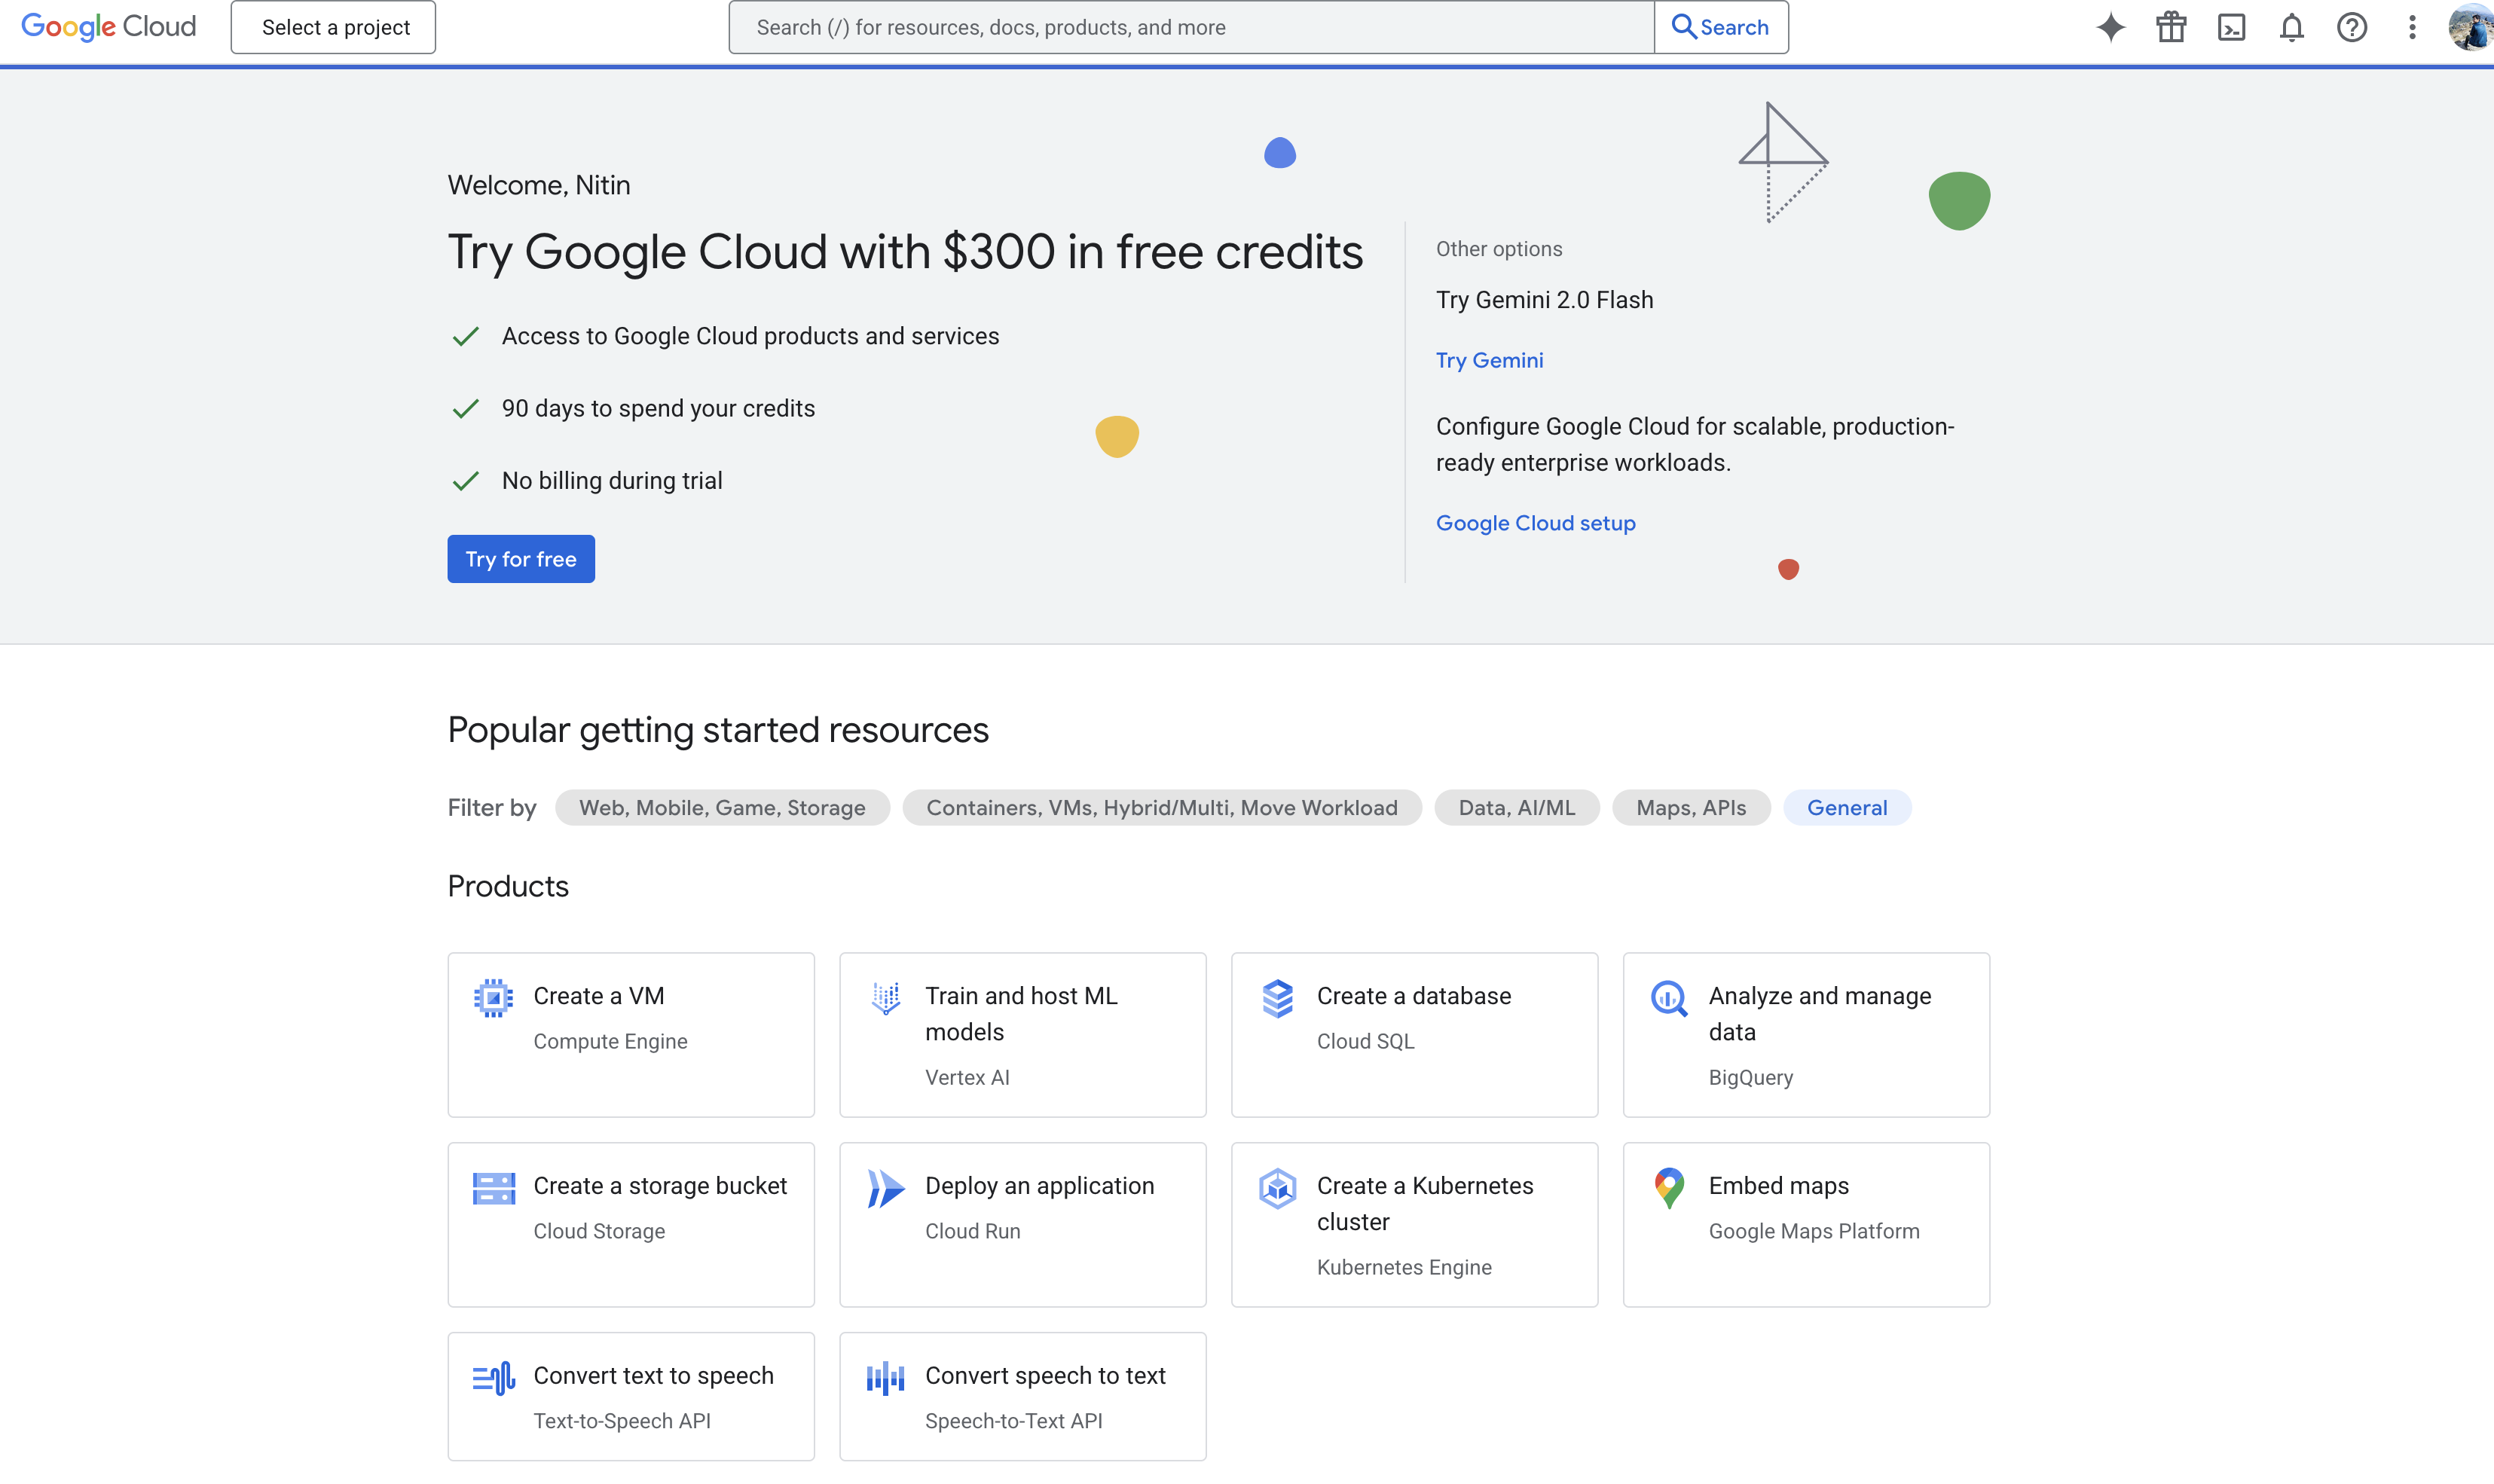
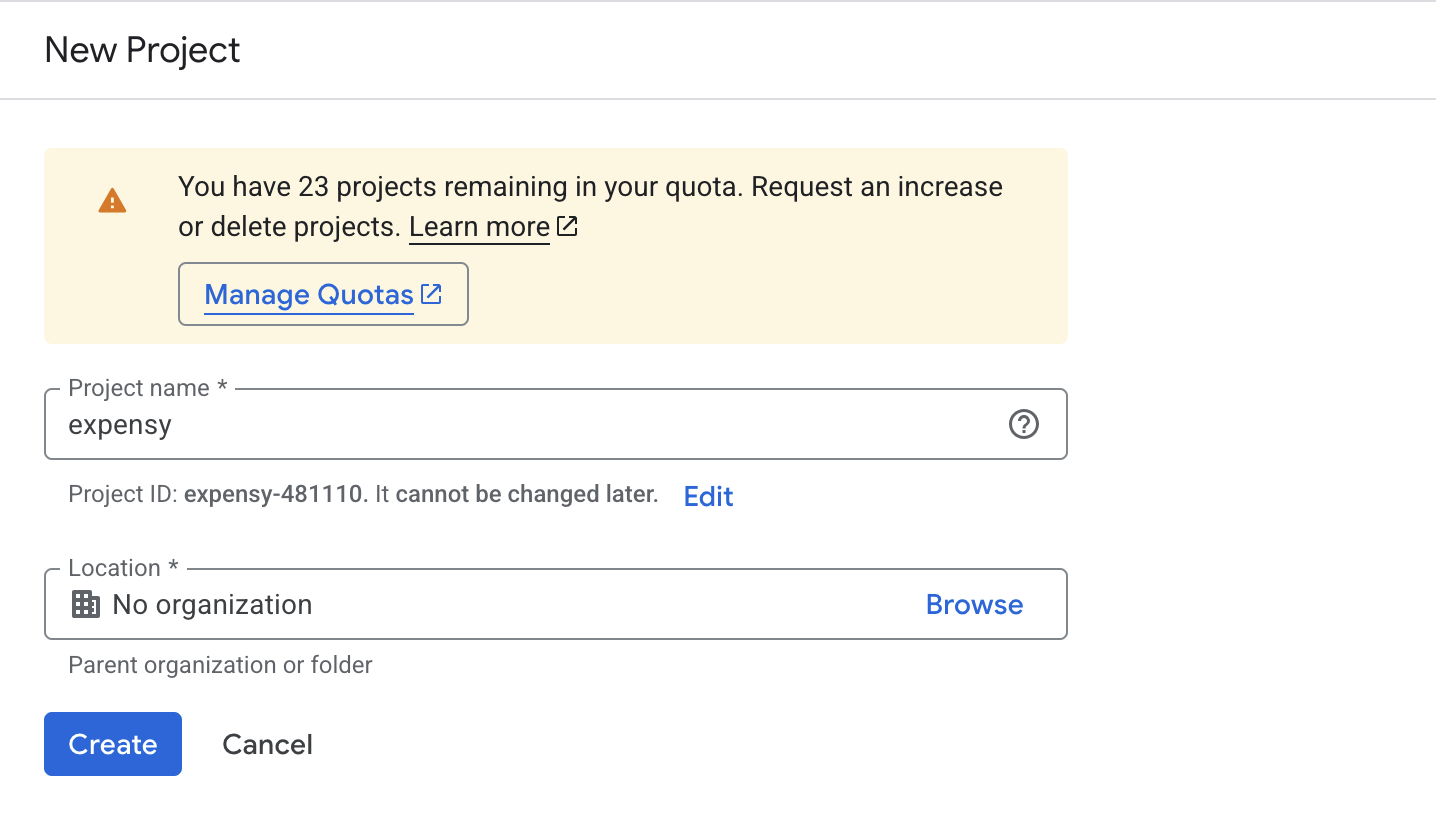
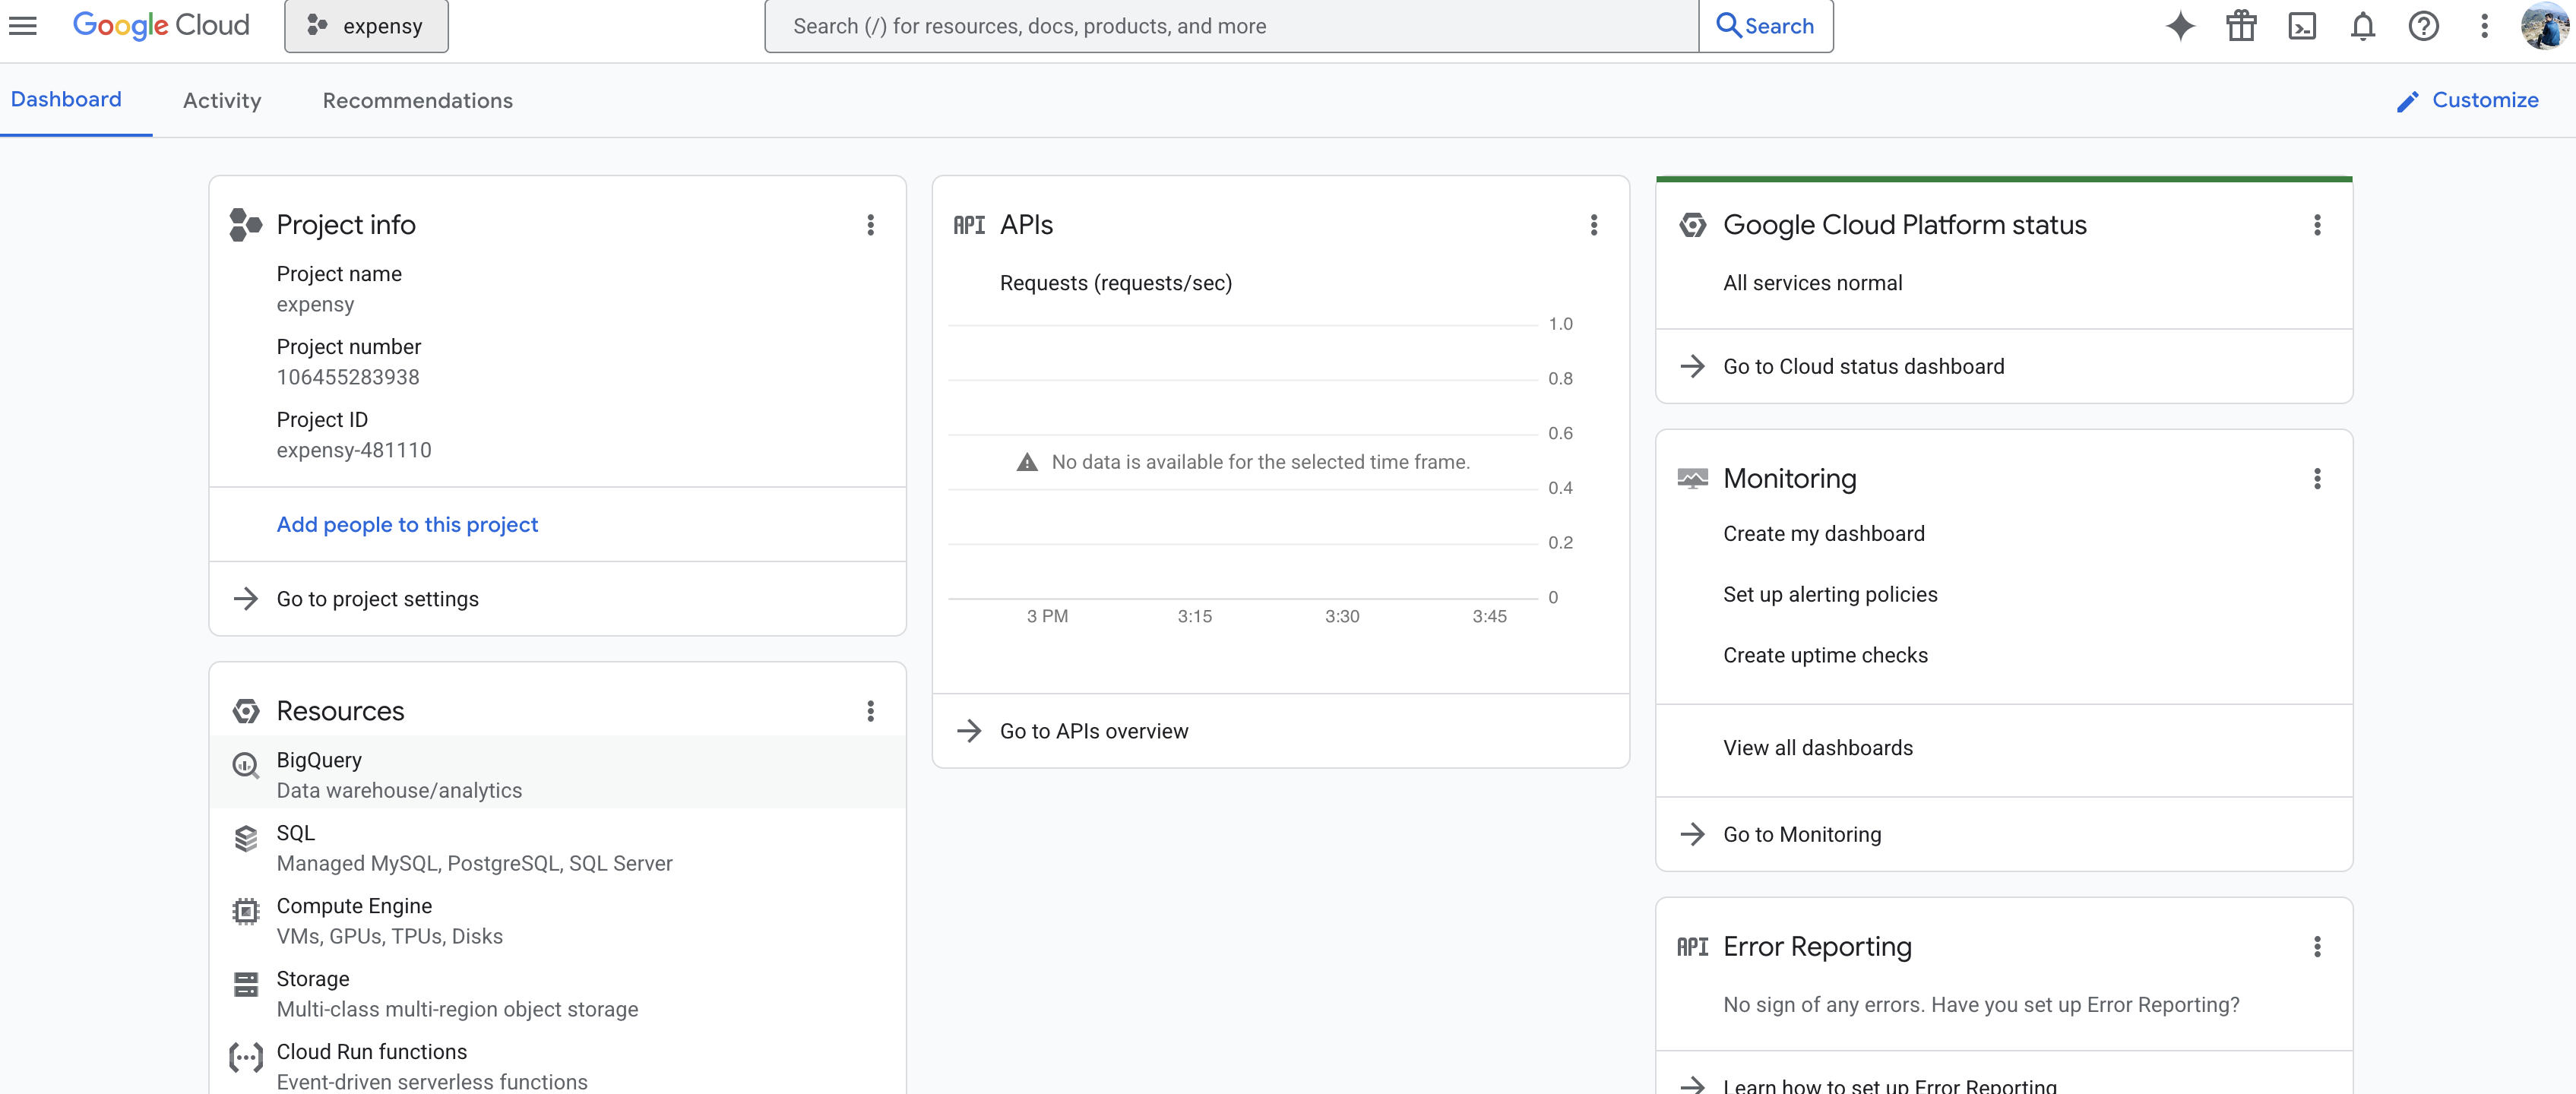
- Create a new project by clicking the “Select a project” button in the top-left corner, then choose “New Project”. Provide a project name and click “Create”. After creation, you will see a page similar to the one below.
- Once the project is created, select it. The project dashboard will look something like this. To create credentials, click “Go to APIs overview”, then select “Credentials” from the sidebar.
- This will open the Credentials page, which looks like the screen below.
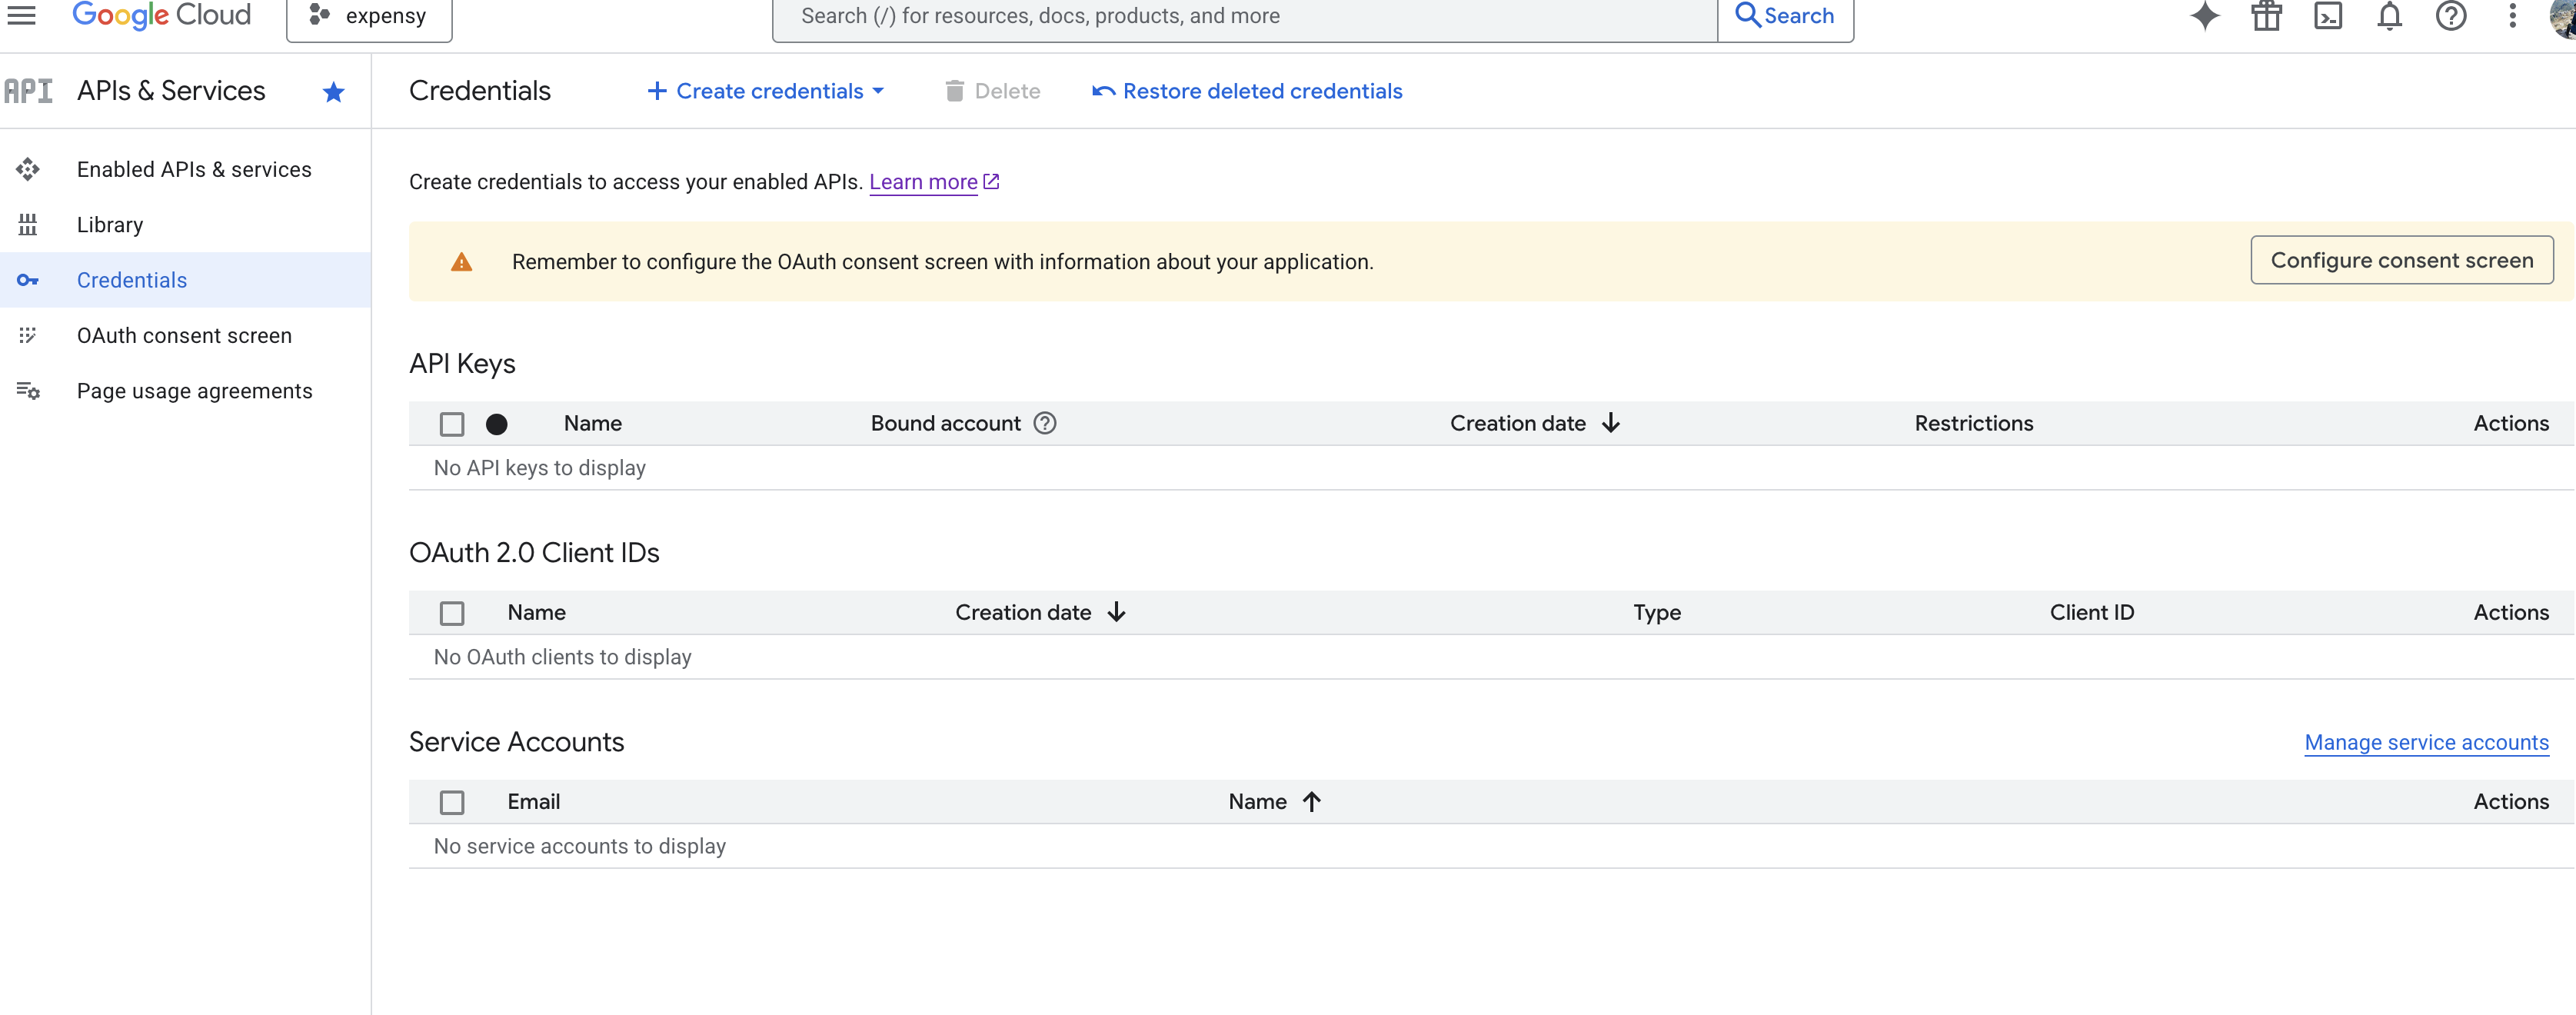
You’ll see three types of credentials here:
- API Keys
- OAuth Clients
- Service Accounts
- API keys are typically used during development or for simple access to Google resources. They are mainly used for read-only access and can be included directly in API requests.
- OAuth clients are used for authentication and authorization. The application requests user consent, and once approved, it can access the user’s Google resources using the generated access token.
- Service accounts are used when a program needs to access Google resources on behalf of a user or application without direct user interaction.
For this blog and our use case, we will set up an OAuth client. Before creating an OAuth client ID, we must configure the OAuth consent screen. This is the screen users see when Google asks for permission during authentication.
- Click “OAuth consent screen” from the sidebar and then click the “Get started” button. You should see a screen similar to the one below.
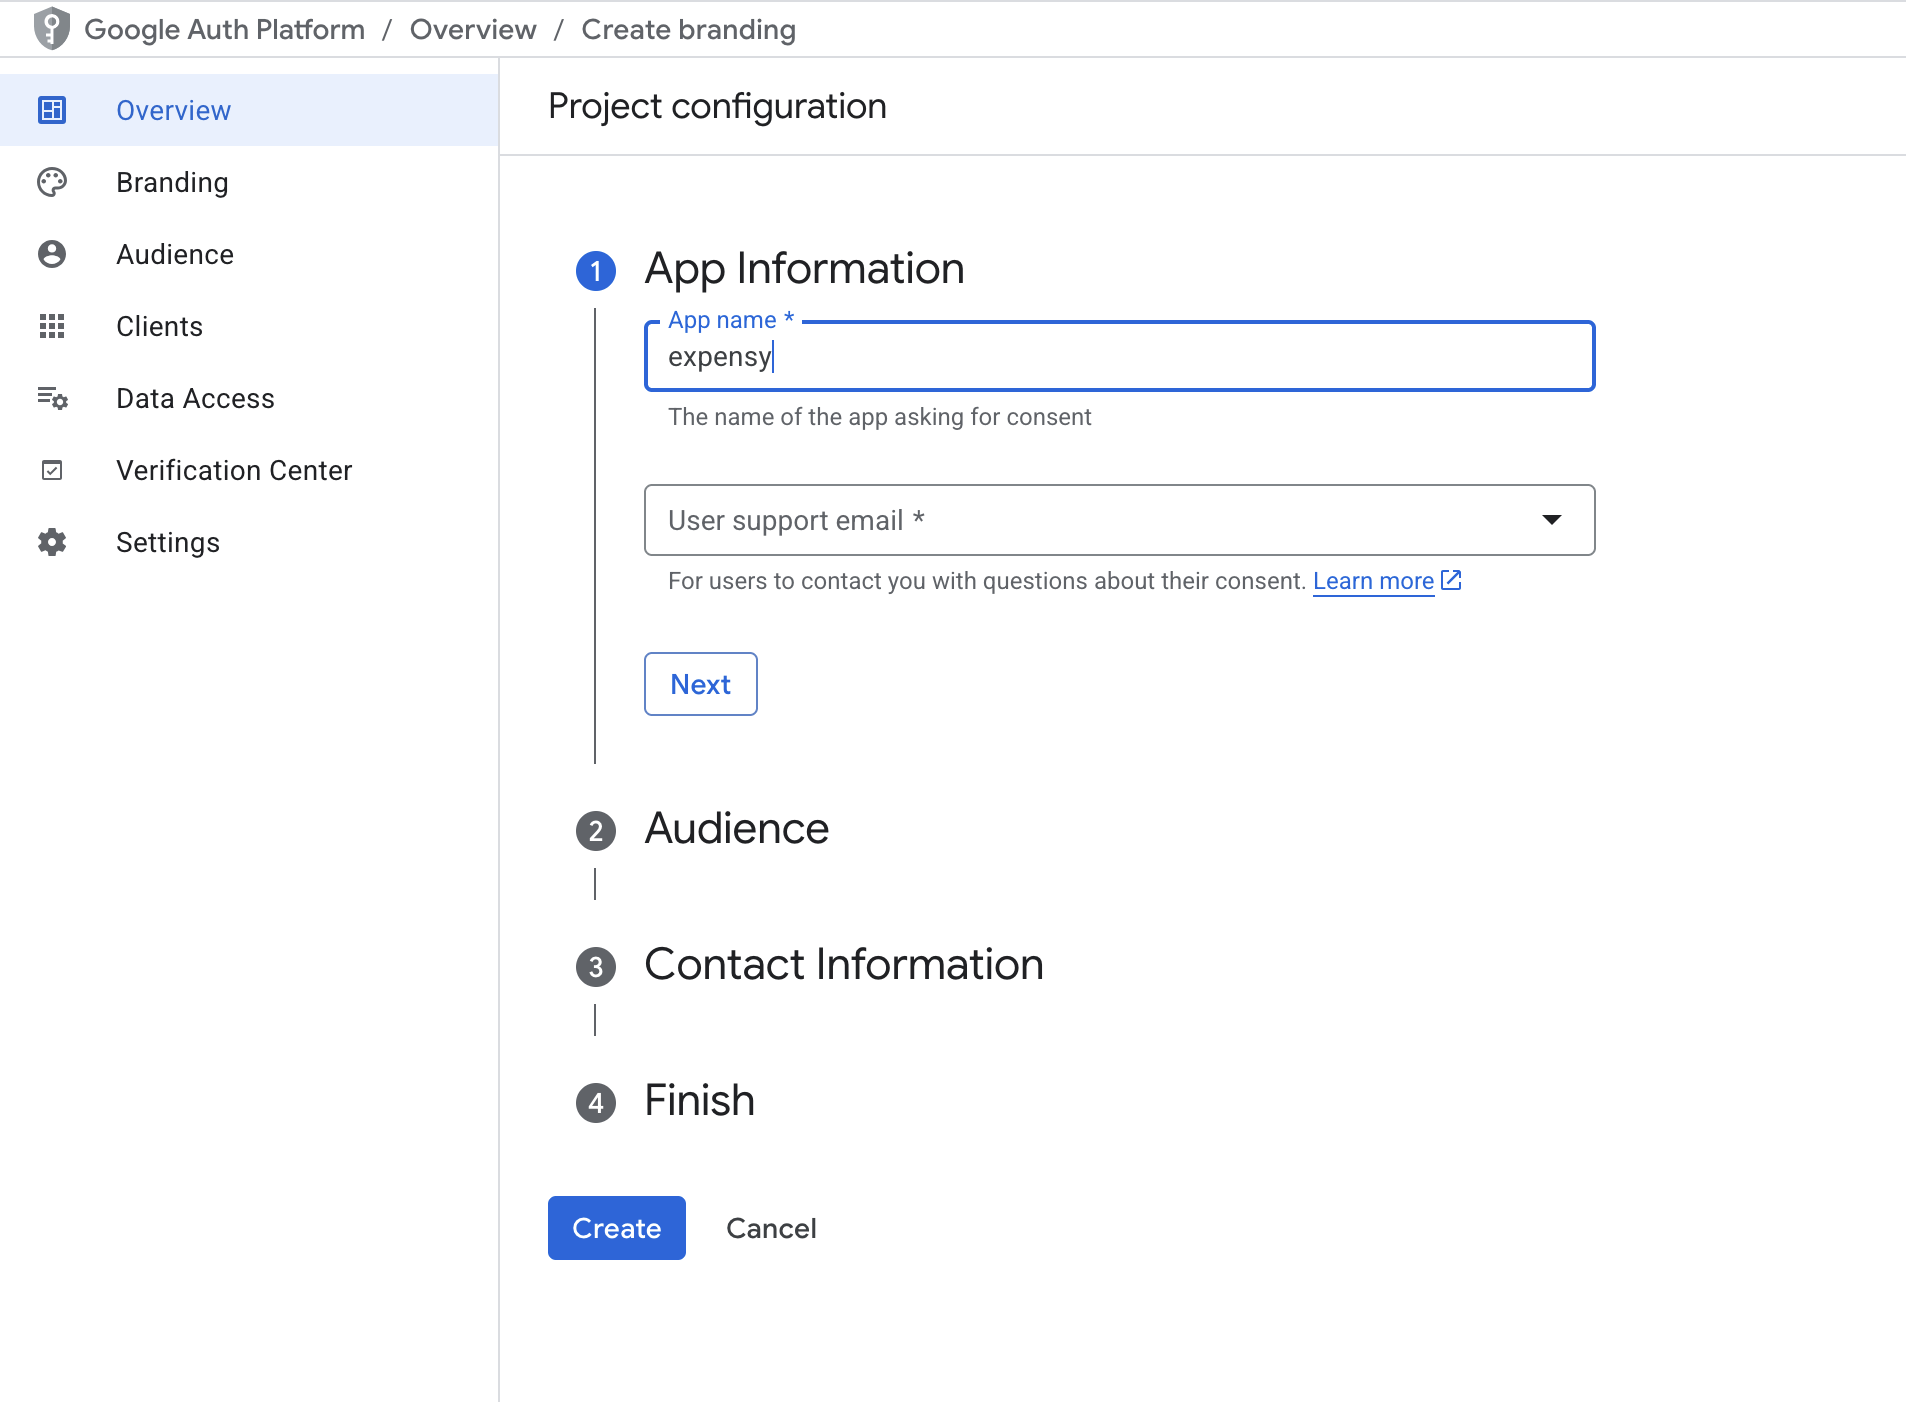
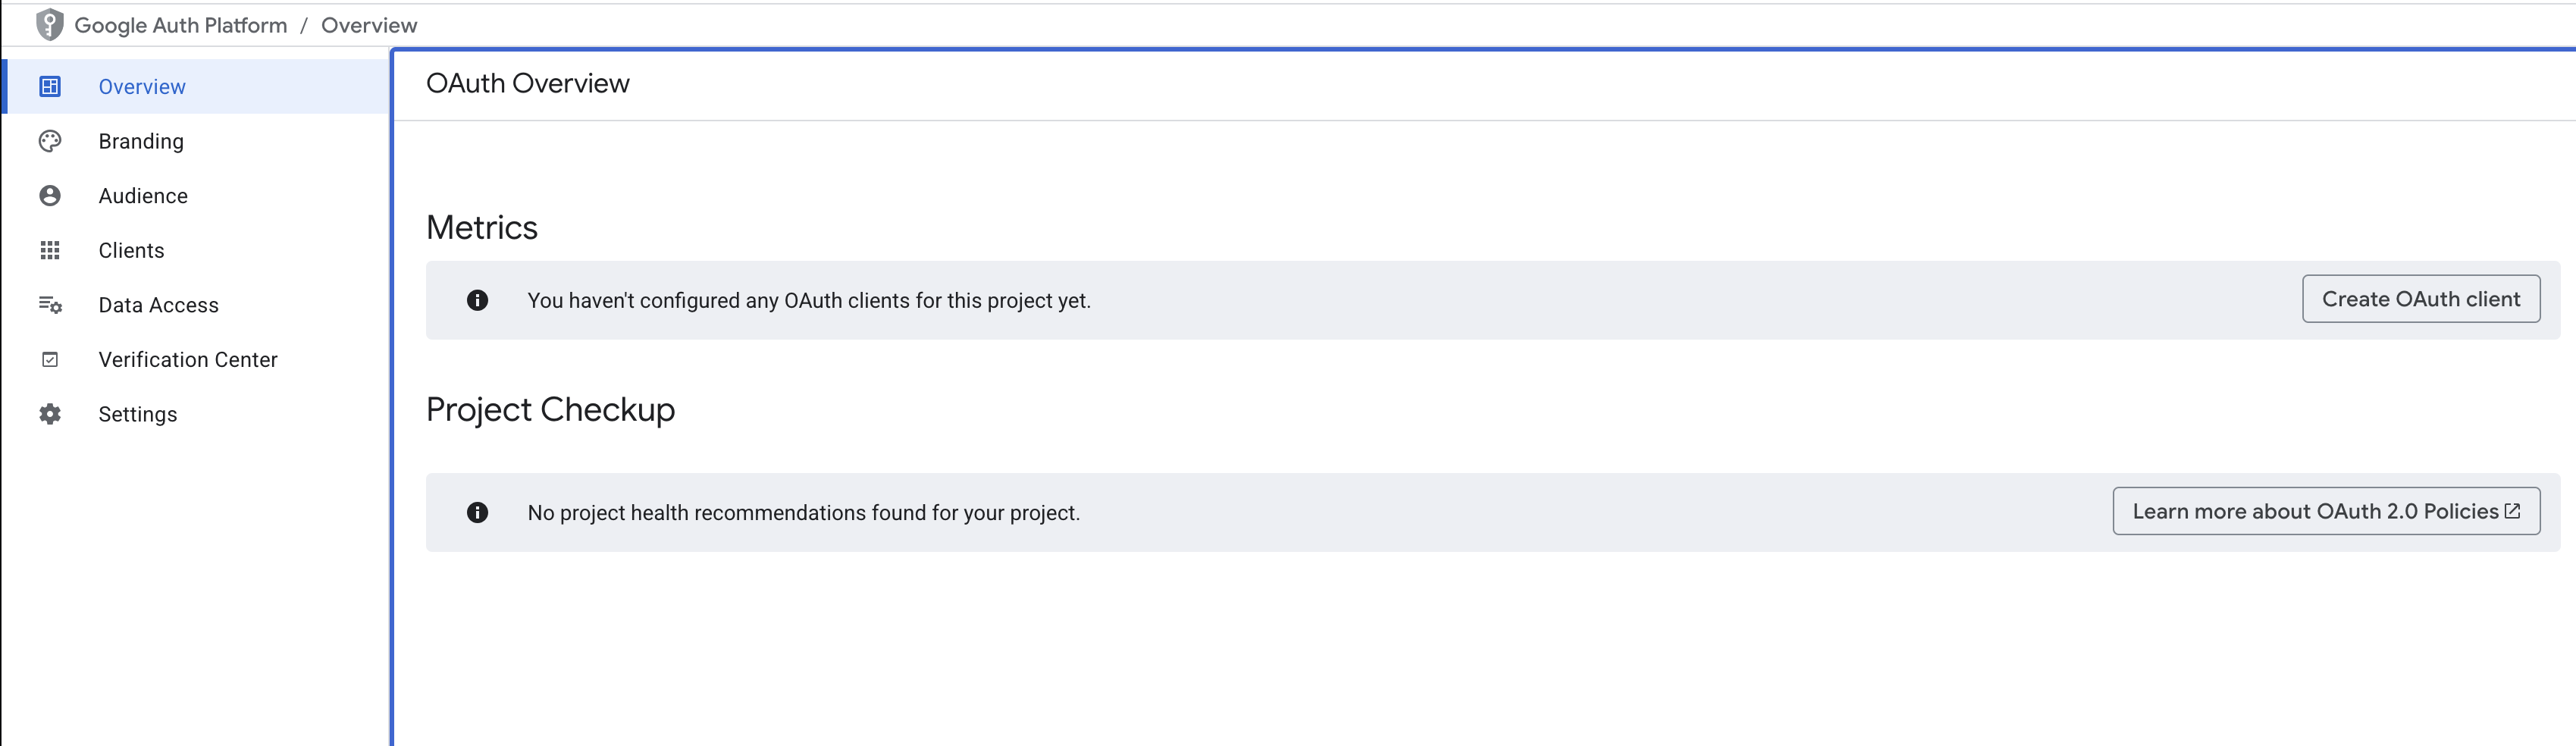
Provide the required details. For Audience, choose “External”, then create the project. Once the configuration is complete, you’ll see a screen like the one below. From here, click “Create OAuth client”.
- You should now see a screen like the one below. Fill in the required details and create the client.
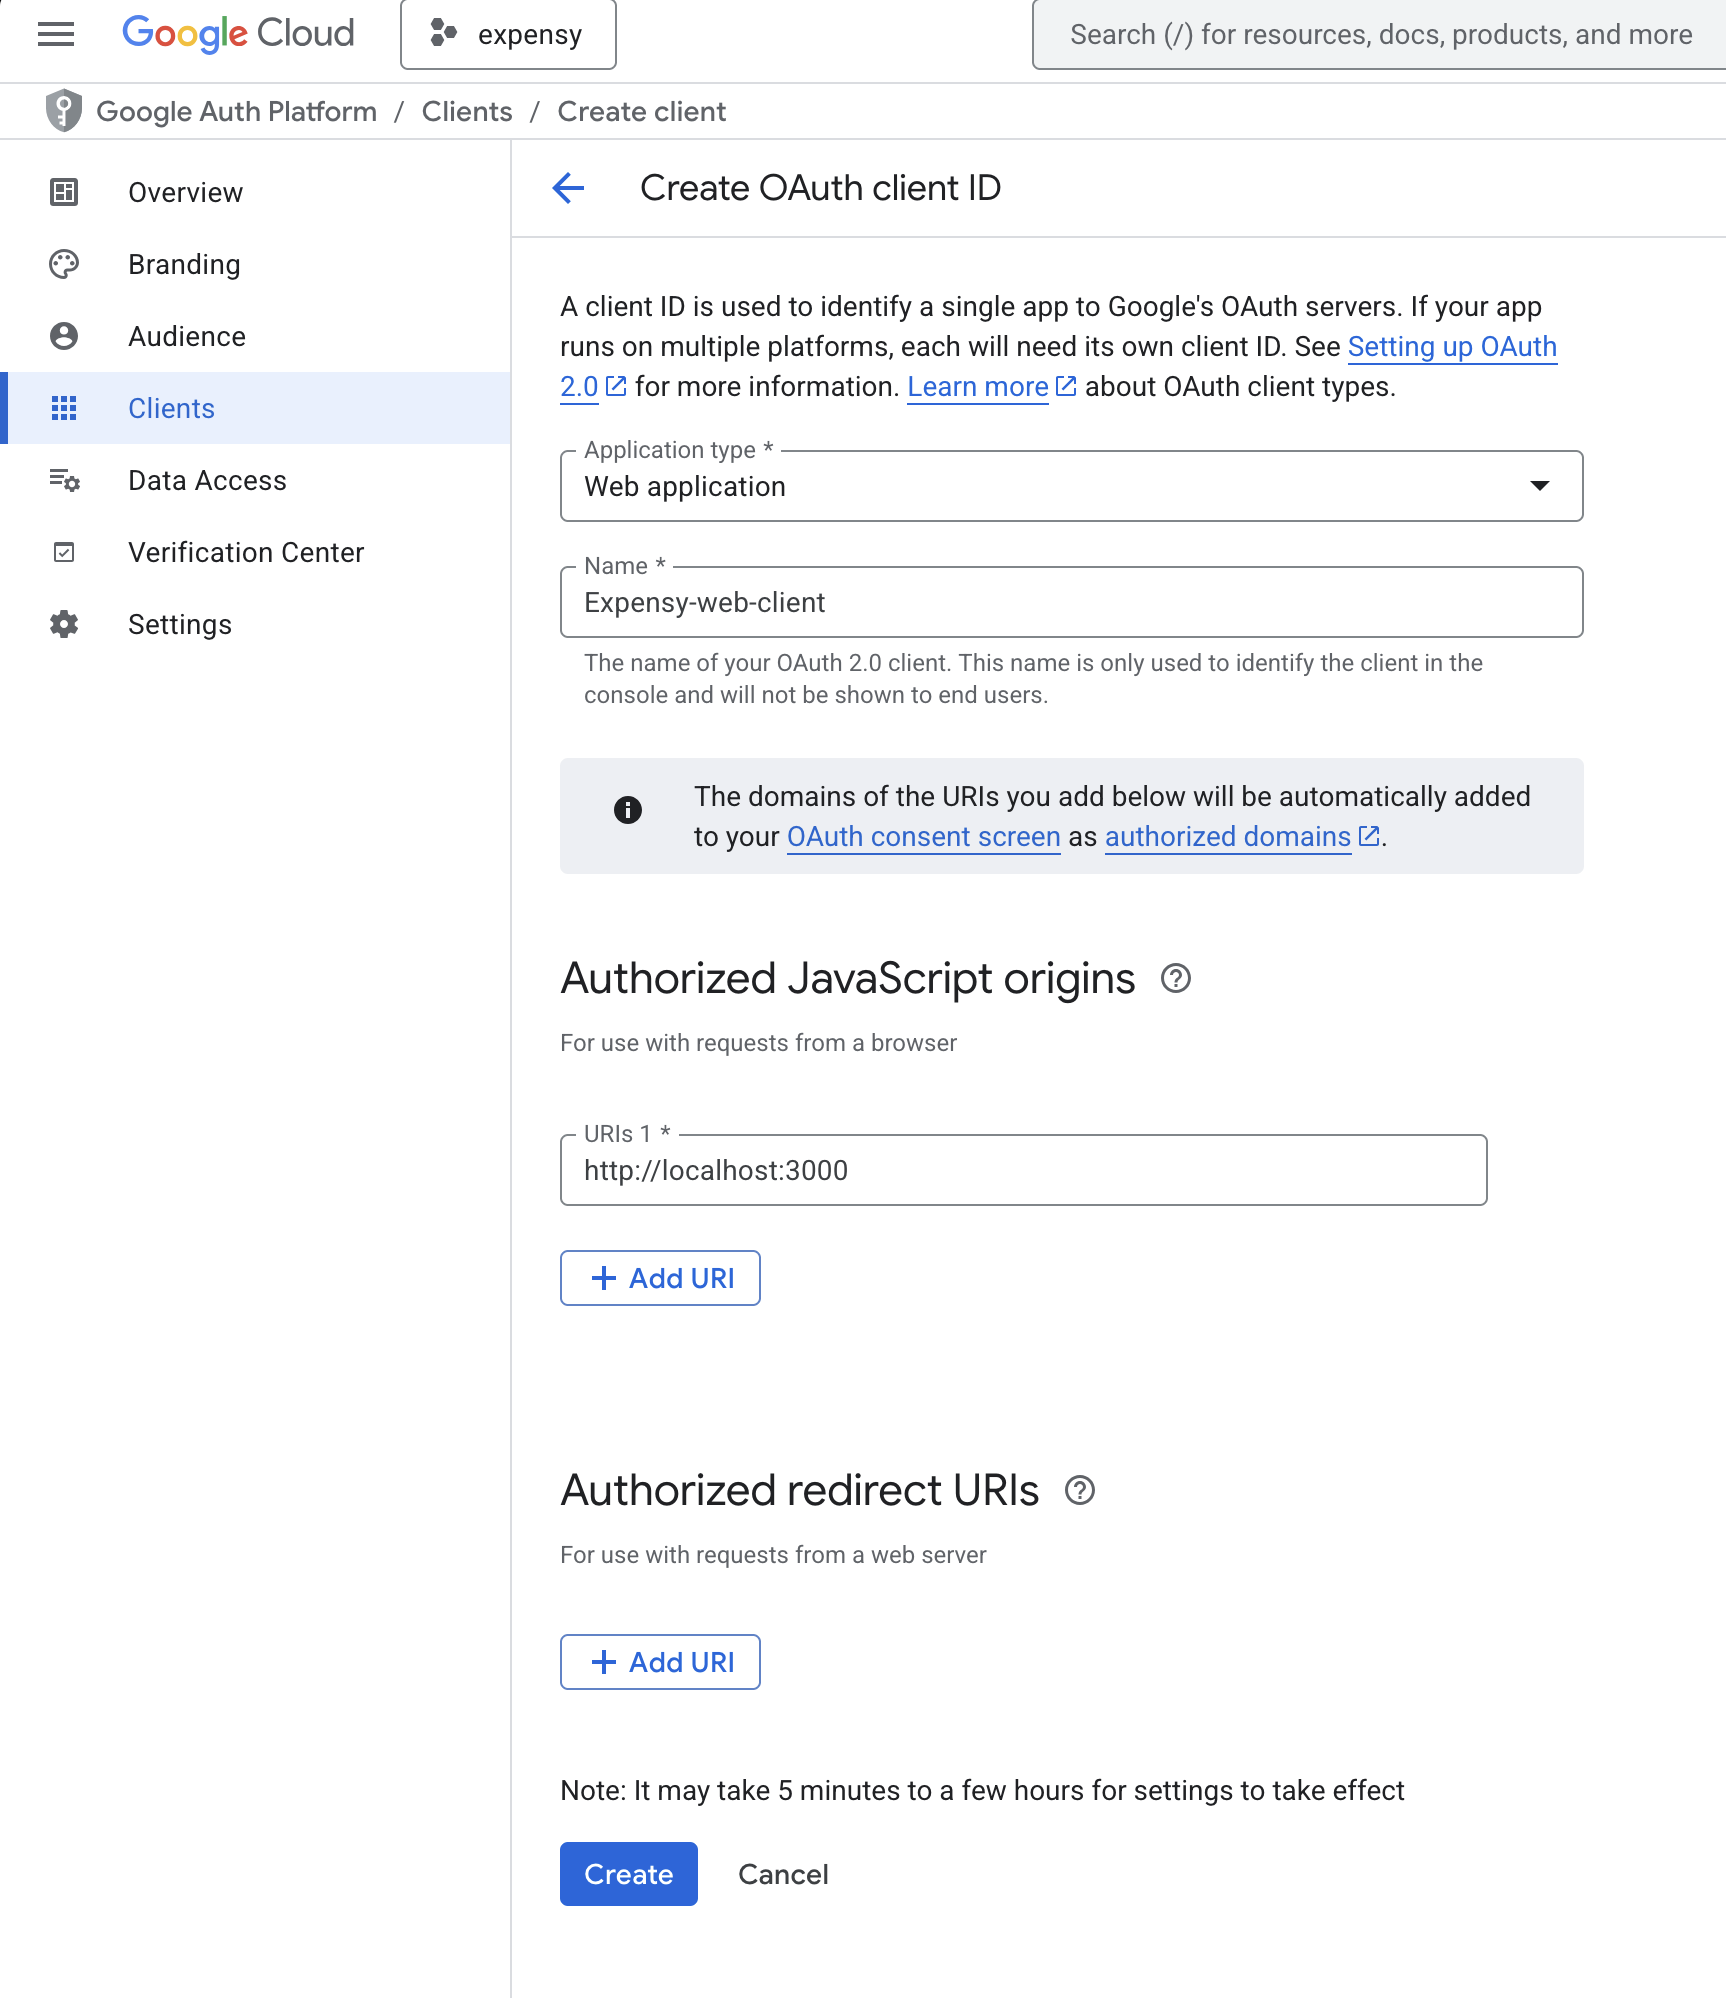
- A popup will appear showing the Client ID and other details. Copy the Client ID and keep it safe. If you miss it here, you can always retrieve it later from the Credentials page.
Configure Data Access for the Client
Next, we need to configure the data access scopes for the client. As a best practice, we should always follow the principle of least privilege. However, for the purpose of this blog, we’ll grant Google Sheets read, write, and delete access.
- Click “Data Access” from the sidebar.
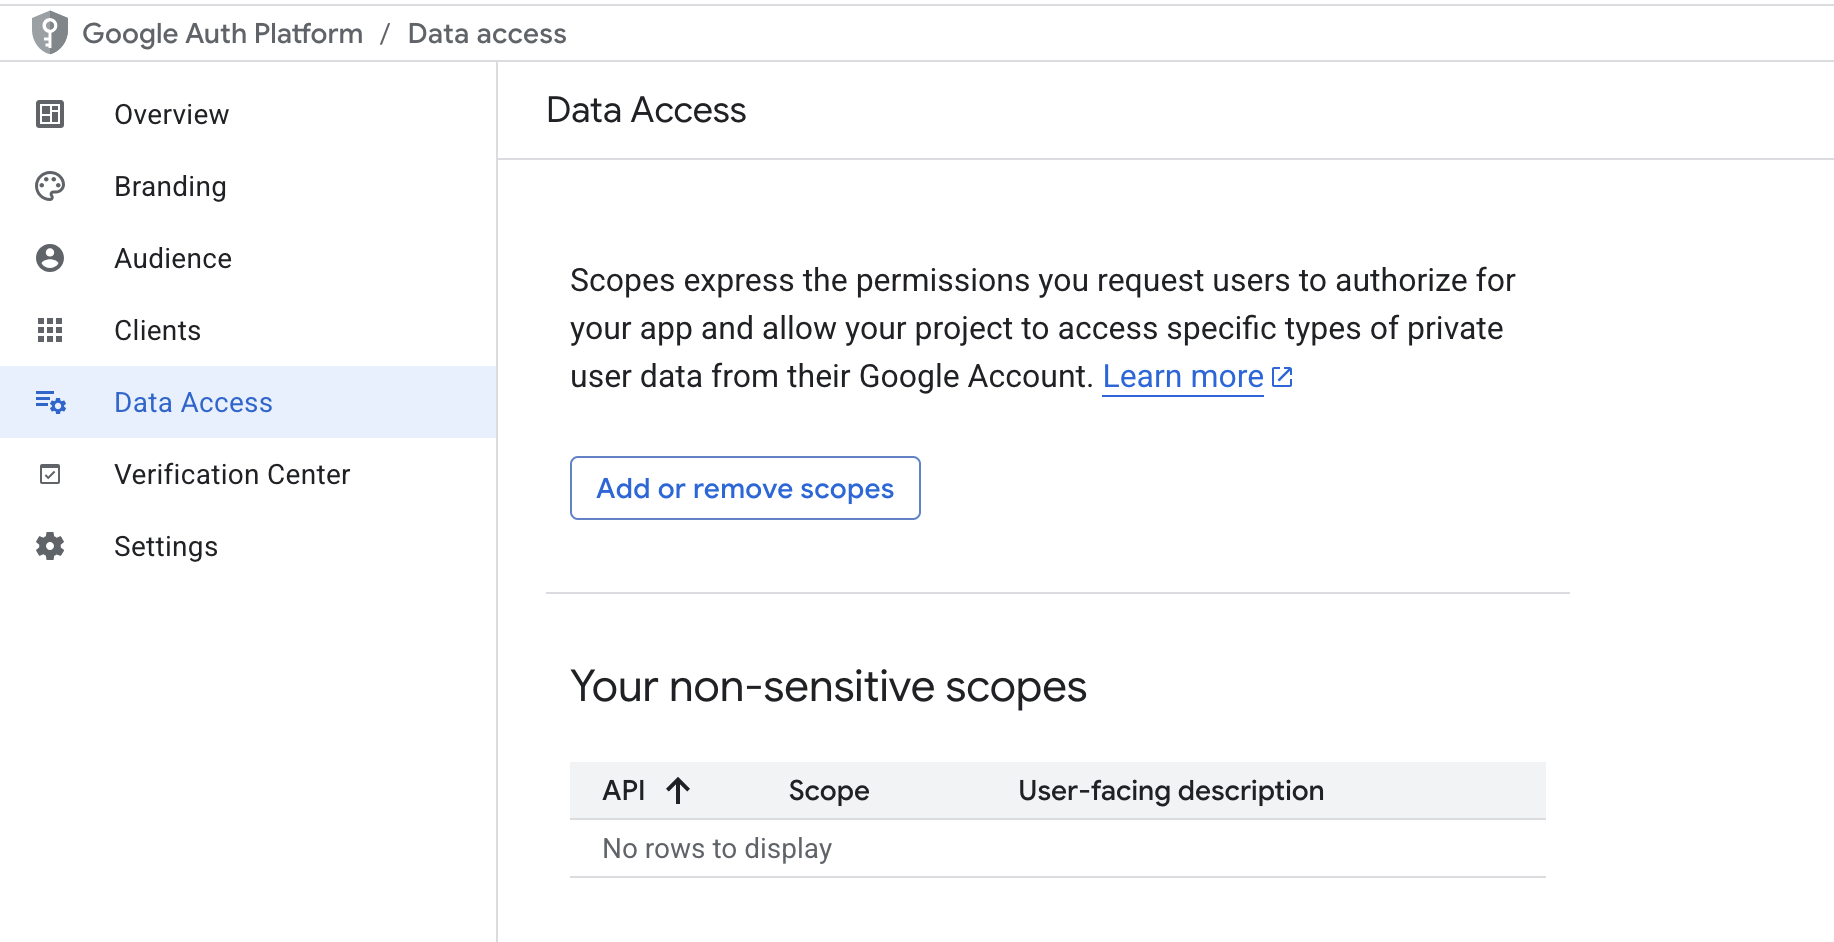
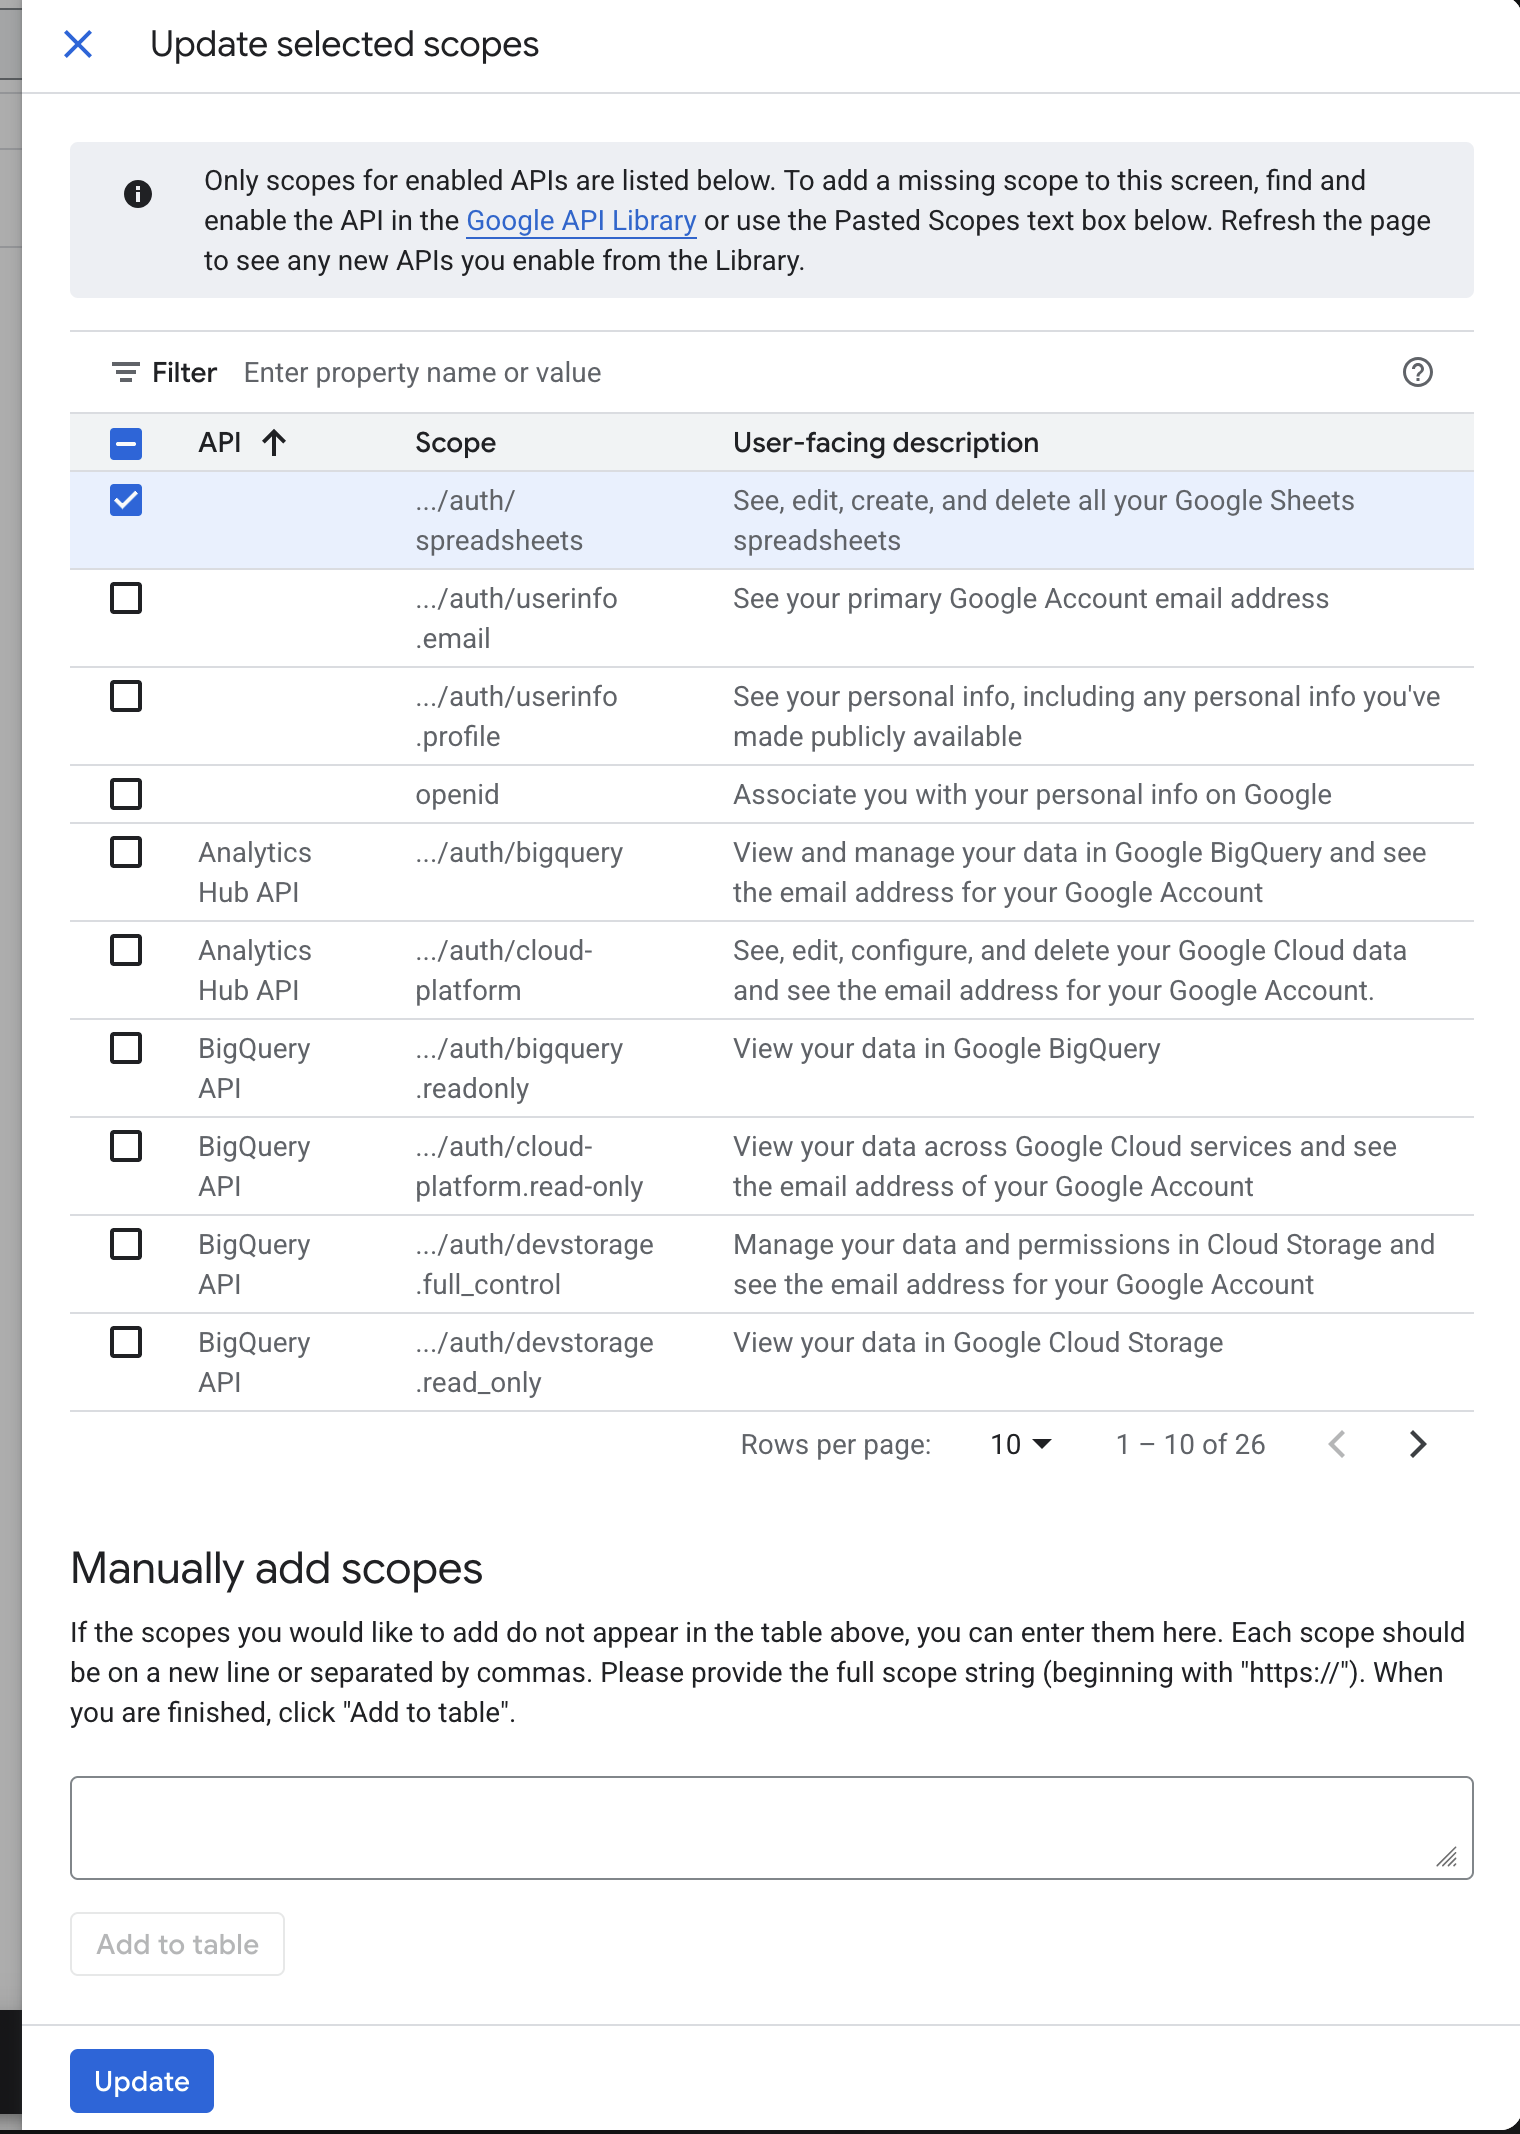
- Click the “Add or remove scopes” button. You should see a list of available scopes, as shown below. Select the scope labeled “See, edit, create, and delete all your Google Sheets spreadsheets.”
If the scope is not visible in the list, you can manually add it by copying and pasting the following scope URL into the text field:
https://www.googleapis.com/auth/spreadsheets
After adding the scope, update and save the changes.
At this point, we have a Client ID configured with the required data access permissions. We’re now ready to move on to the coding part.
Coding
We need two libraries:
- Google API Client Library (
gapi) - Google Identity Services Library (GIS)
The gapi library provides a client that exposes APIs to access Google resources such as Sheets, Drive, Calendar, and more.
The GIS library handles authentication and authorization. It allows us to obtain an access token, which is then used by gapi to access Google Sheets. Internally, once authentication succeeds, GIS automatically sets the token on the gapi client.
Initialize the gapi client
<!DOCTYPE html>
<html lang="en">

<head>
  <meta charset="UTF-8">
  <meta name="viewport" content="width=device-width, initial-scale=1.0">
  <title>gapi client</title>
</head>

<body>
  <script>
    function gapiLoaded() {
      gapi.load('client', initializeGapiClient);
    }

    async function initializeGapiClient() {
      await gapi.client.init({
        apiKey: '',
        discoveryDocs: ['https://sheets.googleapis.com/$discovery/rest?version=v4'],
      });
    }
  </script>
  <script async defer src="https://apis.google.com/js/api.js" onload="gapiLoaded()"></script>
</body>

</html>
Here, we initialize the gapi client without an API key. At this stage, we cannot access Google Sheets because the client is not yet authenticated. To do that, we need to authenticate and authorize the user using GIS.
Authenticate Using Google Identity Services (GIS)
<!DOCTYPE html>
<html lang="en">
<head>
  <meta charset="UTF-8">
  <meta name="viewport" content="width=device-width, initial-scale=1.0">
  <title>GIS</title>
</head>

<body>
  <button onclick="login()">Login</button>

  <script>
    const CLIENT_ID = 'CLIENT ID from google project';
    const DISCOVERY_DOC = 'https://sheets.googleapis.com/$discovery/rest?version=v4';
    let tokenClient;

    function gisLoaded() {
      tokenClient = google.accounts.oauth2.initTokenClient({
        client_id: CLIENT_ID,
        scope: SCOPES,
        callback: '',
      });
    }

    function login() {
      tokenClient.callback = async (resp) => {
        if (resp.error !== undefined) {
          throw resp;
        }
      };

      // We are explicitly creating a new session.
      // If a session already exists, you can call:
      // tokenClient.requestAccessToken({ prompt: '' });

      tokenClient.requestAccessToken({ prompt: 'consent' });
    }
  </script>

  <script async defer src="https://accounts.google.com/gsi/client" onload="gisLoaded()"></script>
</body>
</html>
When the page loads, GIS is initialized. Clicking the Login button calls the requestAccessToken method on the tokenClient, which starts the authentication flow. This opens the Google consent screen and prompts the user to log in.
Once authentication is successful, GIS automatically sets the access token on the gapi client.
Access Google Sheets
After successful authentication, we can make requests to the Google Sheets API. Below is the complete HTML file that puts everything together:
<!DOCTYPE html>
<html lang="en">

<head>
  <meta charset="UTF-8">
  <meta name="viewport" content="width=device-width, initial-scale=1.0">
  <title>Document</title>
</head>

<body>
  <button onclick="login()">Login</button>
  <button onclick="loadData()">Load data</button>
  <script>
    function gapiLoaded() {
      gapi.load('client', initializeGapiClient);
    }

    async function initializeGapiClient() {
      await gapi.client.init({
        apiKey: '',
        discoveryDocs: ['https://sheets.googleapis.com/$discovery/rest?version=v4'],
      });
    }

    const CLIENT_ID = 'CLIENT ID from google project';
    const DISCOVERY_DOC = 'https://sheets.googleapis.com/$discovery/rest?version=v4';

    function gisLoaded() {
      tokenClient = google.accounts.oauth2.initTokenClient({
        client_id: CLIENT_ID,
        scope: SCOPES,
        callback: '',
      });
    }

    function login() {
        tokenClient.callback = async (resp) => {
          if (resp.error !== undefined) {
            throw (resp);
          }

        };

        // we are explicity creating a new session. If a session already exists, we can call tokenClient.requestAccessToken({prompt: ''});

        tokenClient.requestAccessToken({prompt: 'consent'});
      }

      async function loadData() {
        response = await gapi.client.sheets.spreadsheets.values.get({
          spreadsheetId: '<SPREADSHEET ID to be used>',
          range: 'Expenses!A2:E',
        });

        console.log(response)
      }
  </script>
  <script async defer src="https://accounts.google.com/gsi/client" onload="gisLoaded()"></script>
</body>

</html>
At this point, our application is fully set up to authenticate users and access Google Sheets using plain JavaScript.
Conclusion
That’s all you need to get started. You can use these APIs to build solutions for your own use cases. For a practical example, check out my simple project, Expensy, which demonstrates this approach in action.
References
- https://developers.google.com/workspace/sheets/api/quickstart/js
- https://developers.google.com/workspace/guides/configure-oauth-consent